Proper surface preparation is essential to ensure optimal performance of TEC7 adhesive products and to guarantee a strong, durable bond.
Step 1: Remove as much loose dirt and dust as possible with a brush or cloth.
Step 2: Begin by thoroughly cleaning and degreasing the surface. Select the appropriate cleaner from the options below based on your application requirements.
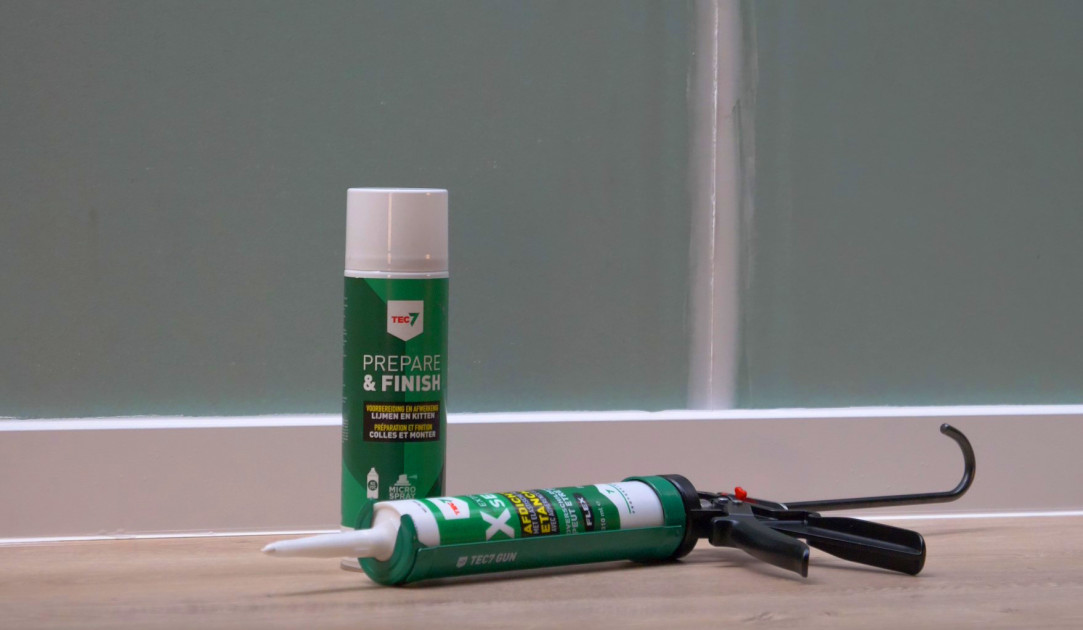
Safest “final wipe” for almost everything — pH neutral, safe on every surface, compatible with every type of adhesive/sealant, removes fine dust, grease and finger marks, and supports perfect bonding.
Always test on an inconspicuous area for colour fastness.

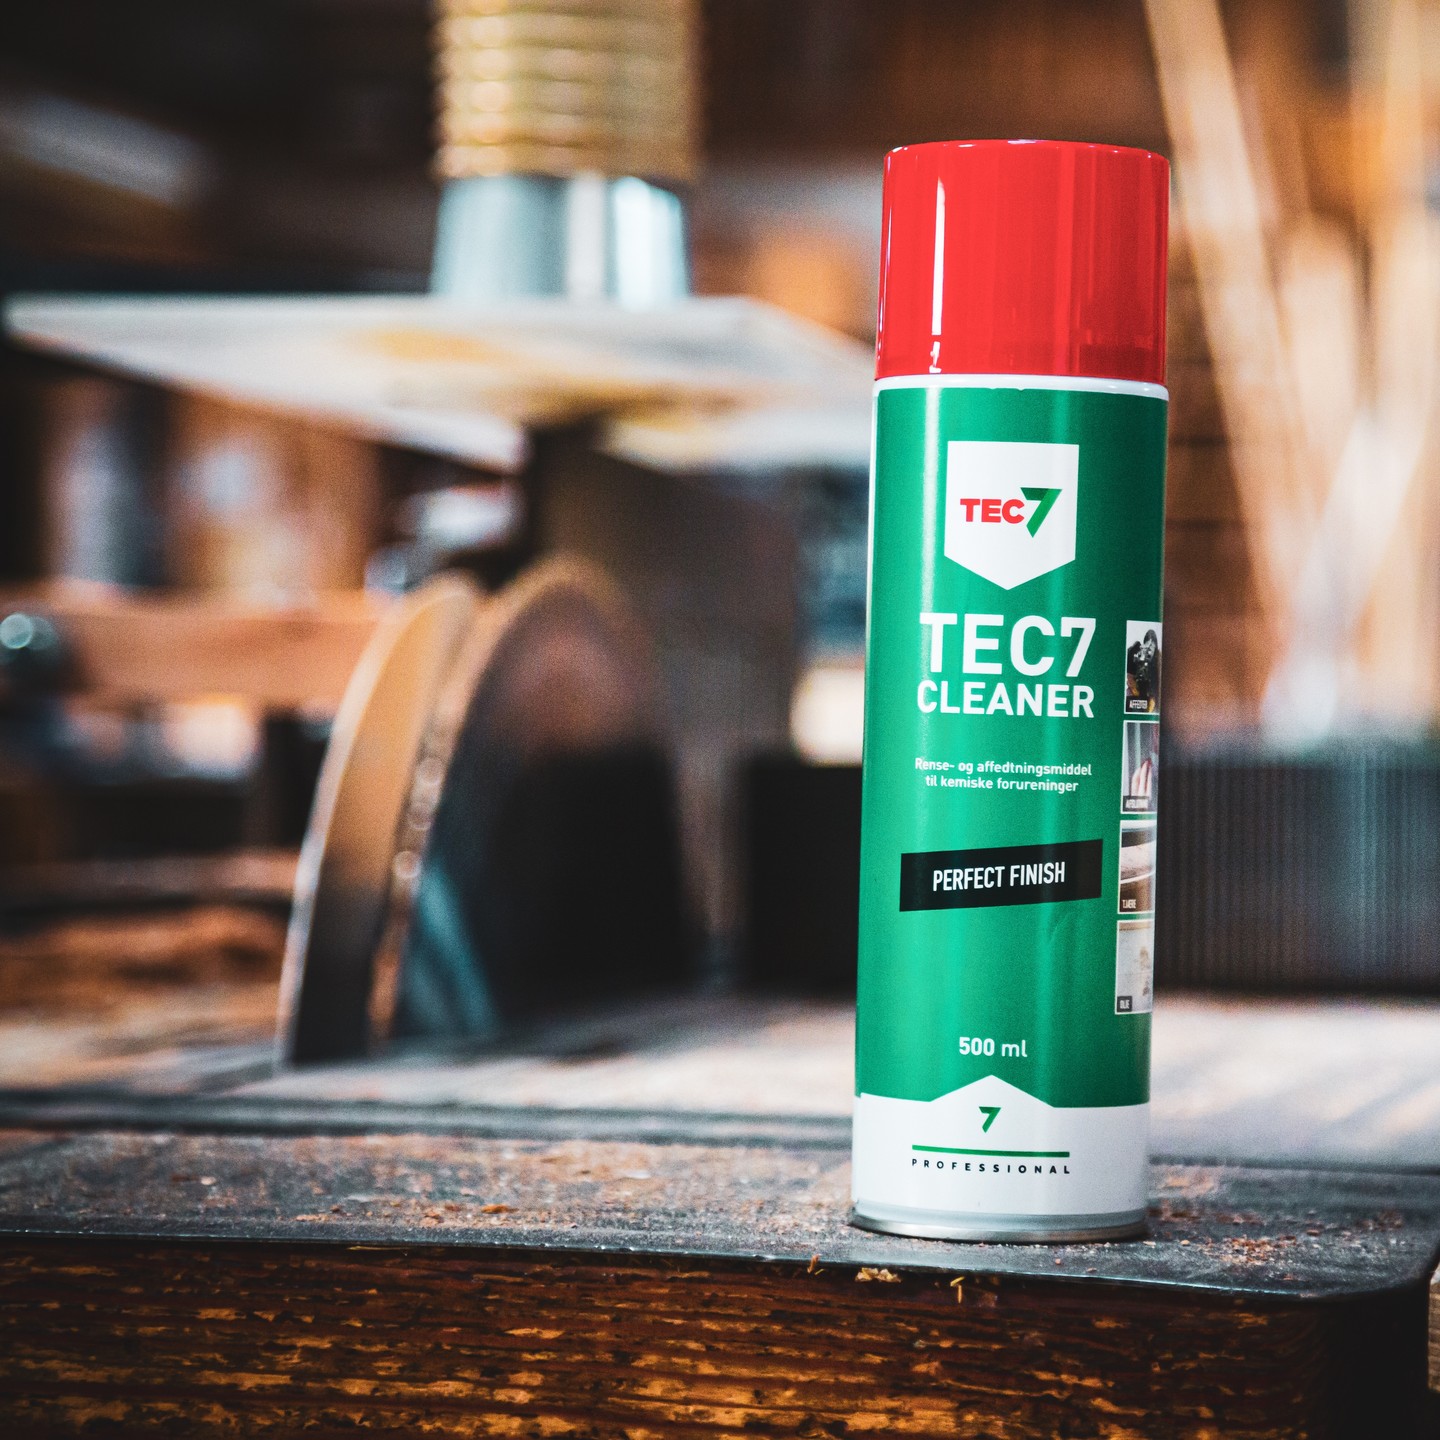
Stronger solvent-style clean when contamination is stubborn or chemical.
Pro Tip: Always have a can of Tec7 Cleaner and paper towel nearby so any stray X-Tack can be wiped away easily while still wet.
Always test on an inconspicuous area for colour fastness.
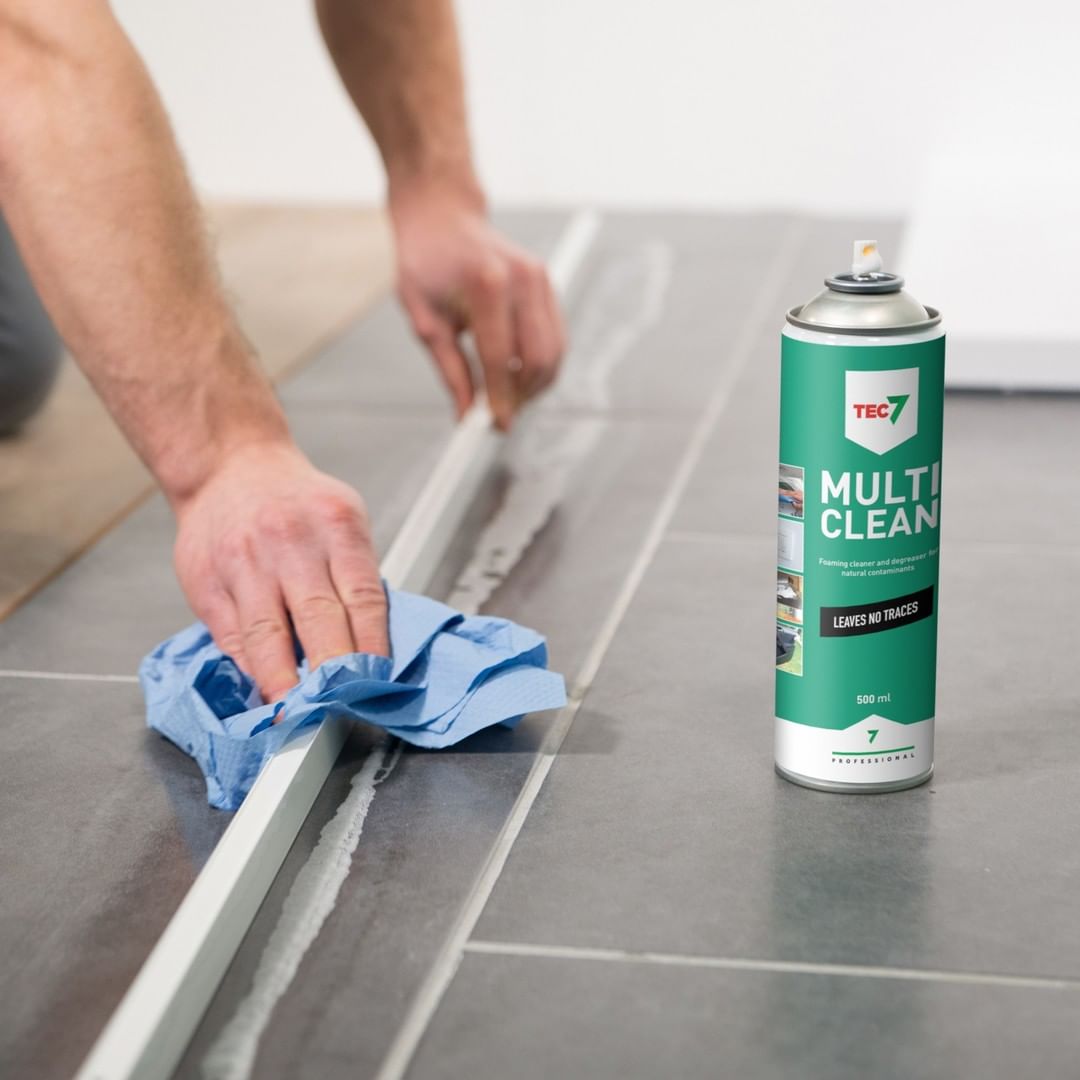
Quick and safe to use with visible foaming action — ideal for vertical, overhead and smooth applications. Contains no abrasives, is acid-free and safe on all materials.
Always test on an inconspicuous area for colour fastness.
Step 3: Ensure that the cleaner has fully evaporated before bonding.
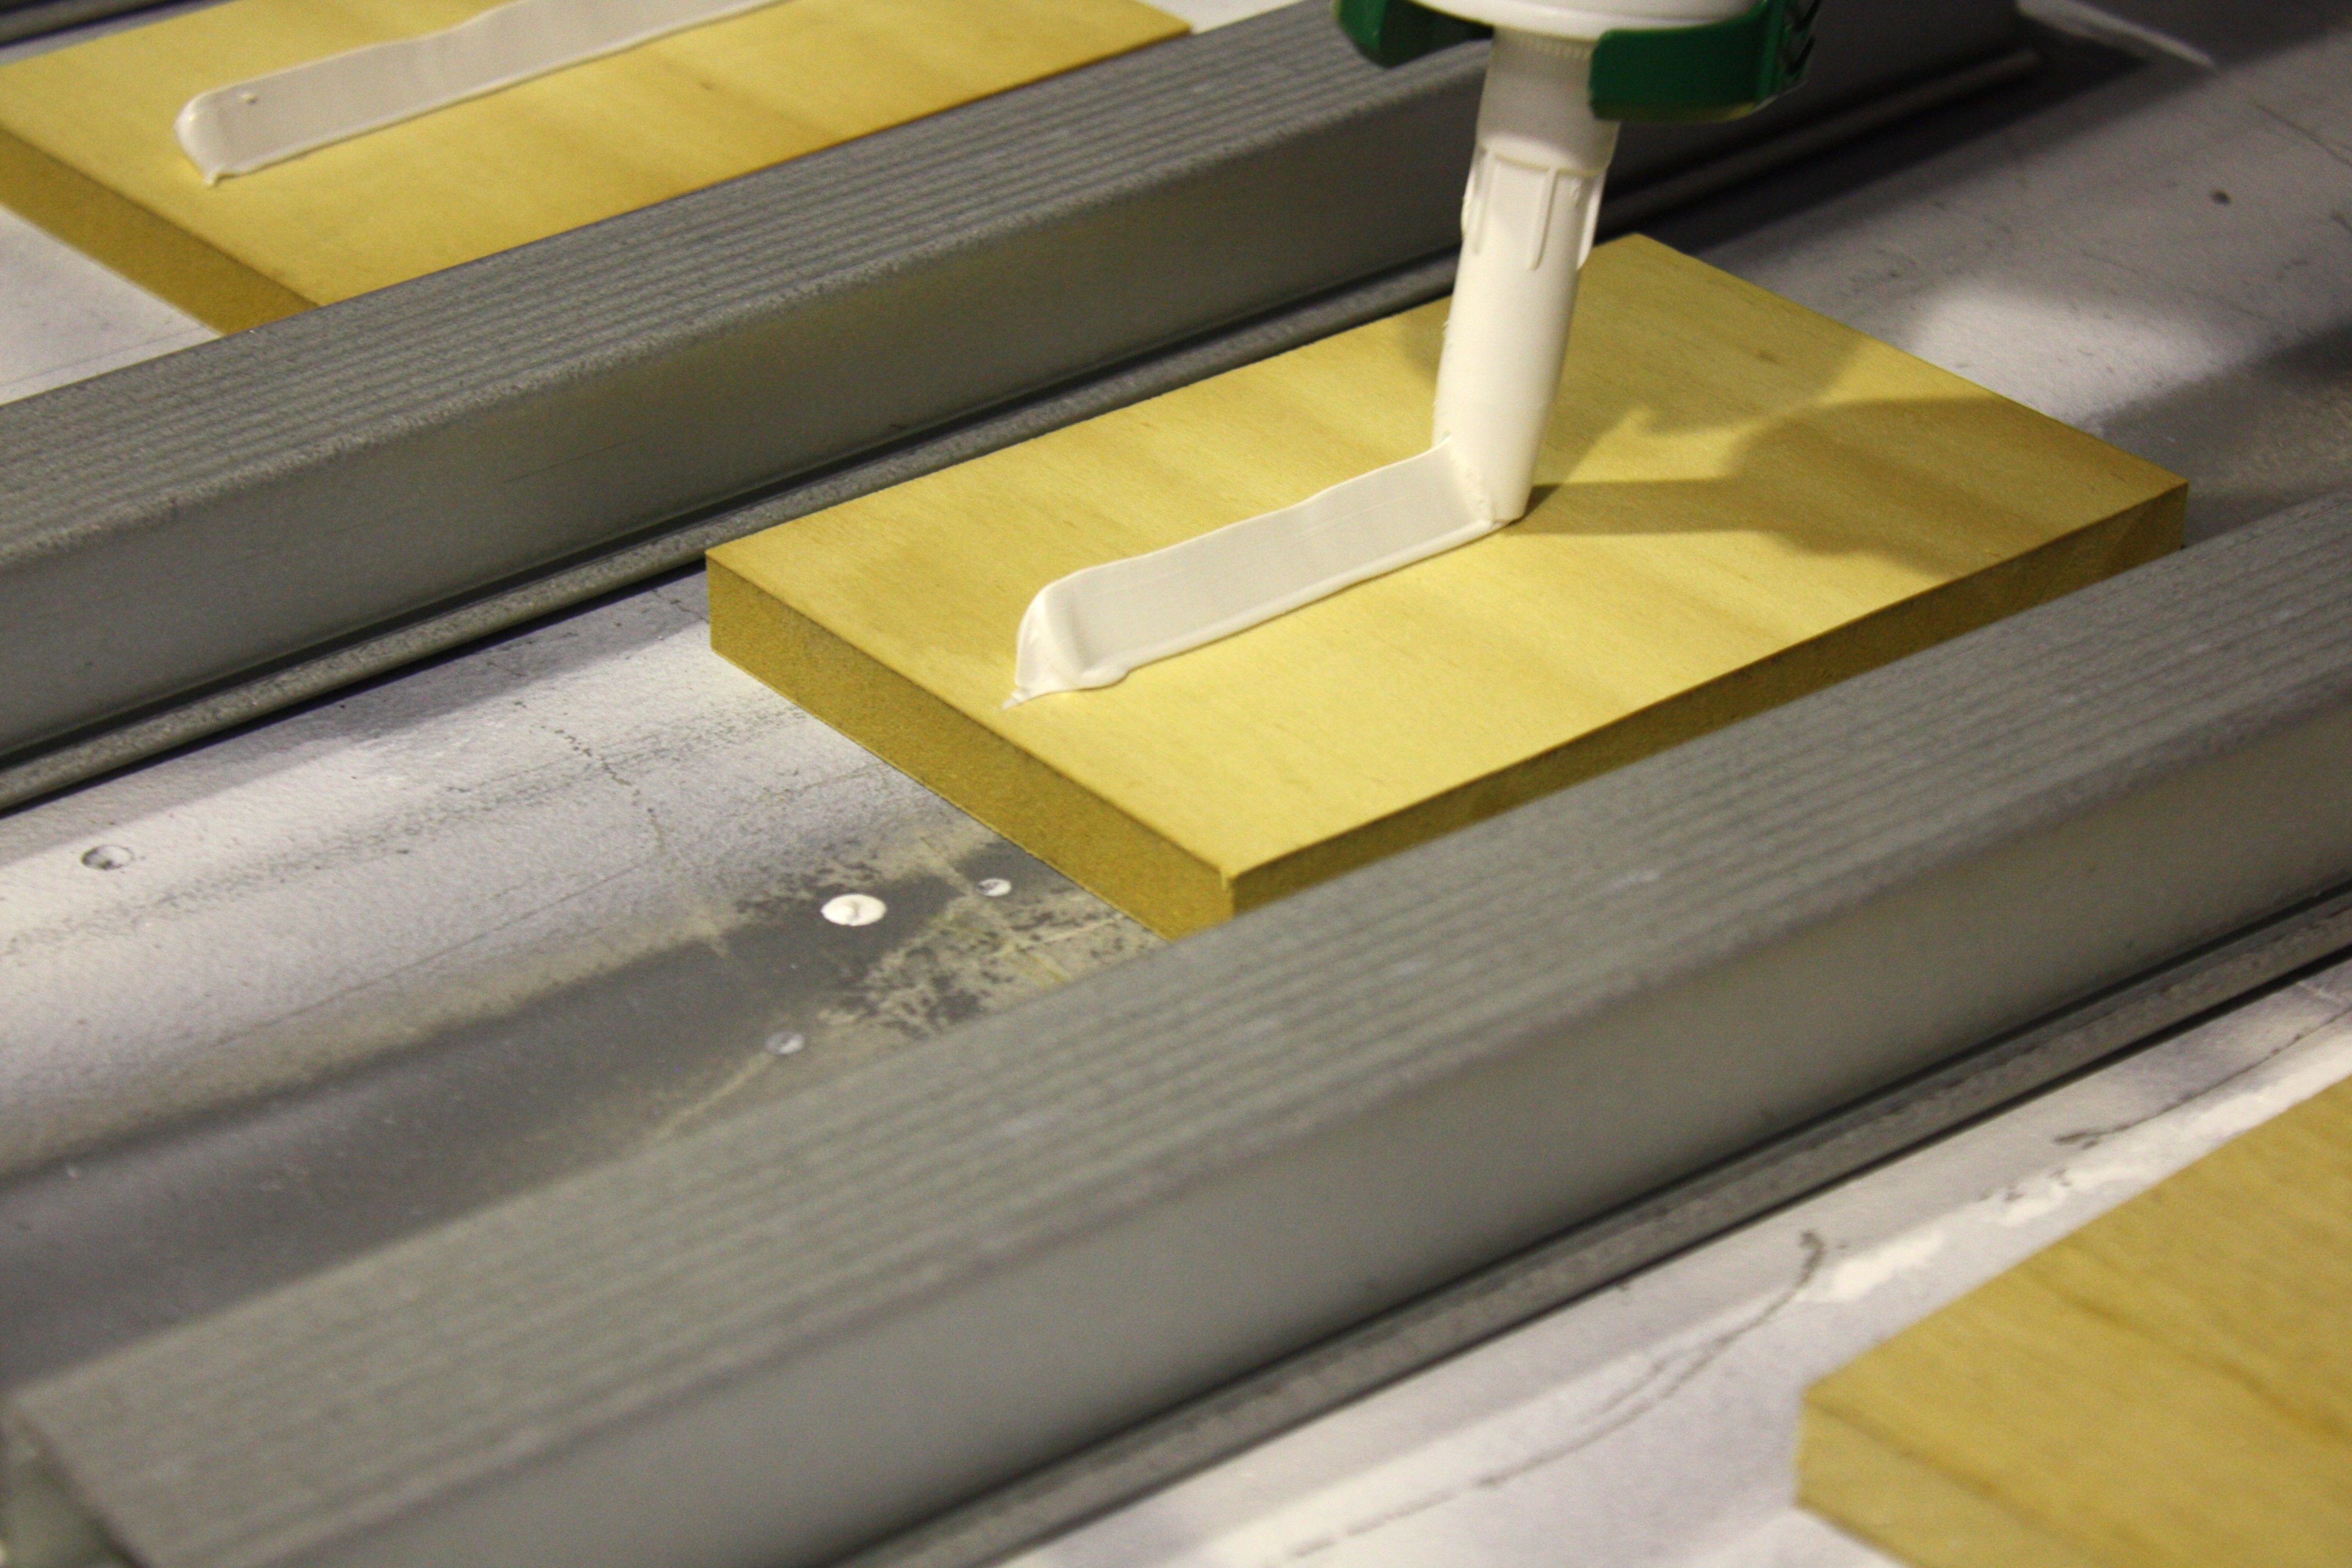
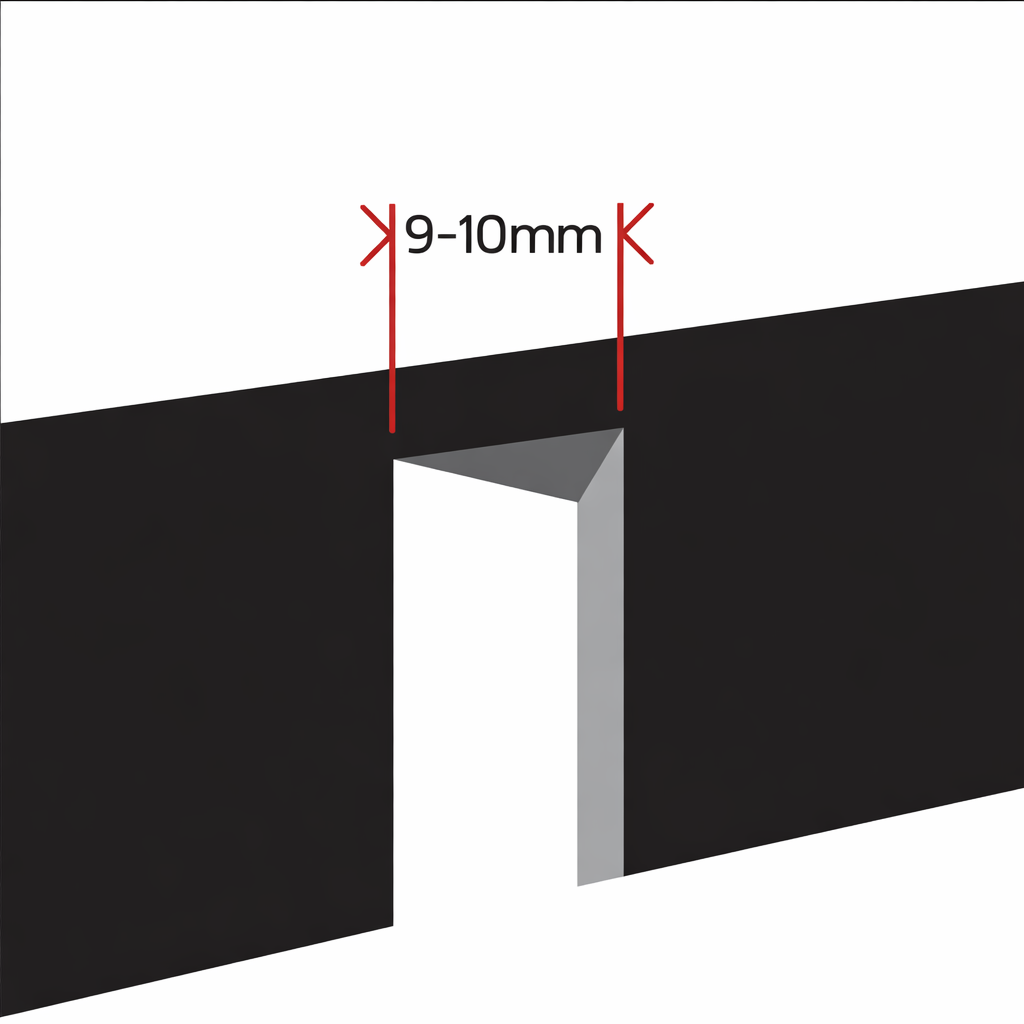
Do not cut off the spout. The integrated V-groove is designed to dispense the correct quantity of adhesive and form the optimal bead profile. The base of the adhesive bead should measure 9–10 mm.
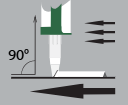
Hold the V-groove spout at a 90° angle to the bonding surface while applying. This ensures the correct triangular-shaped bead is formed.
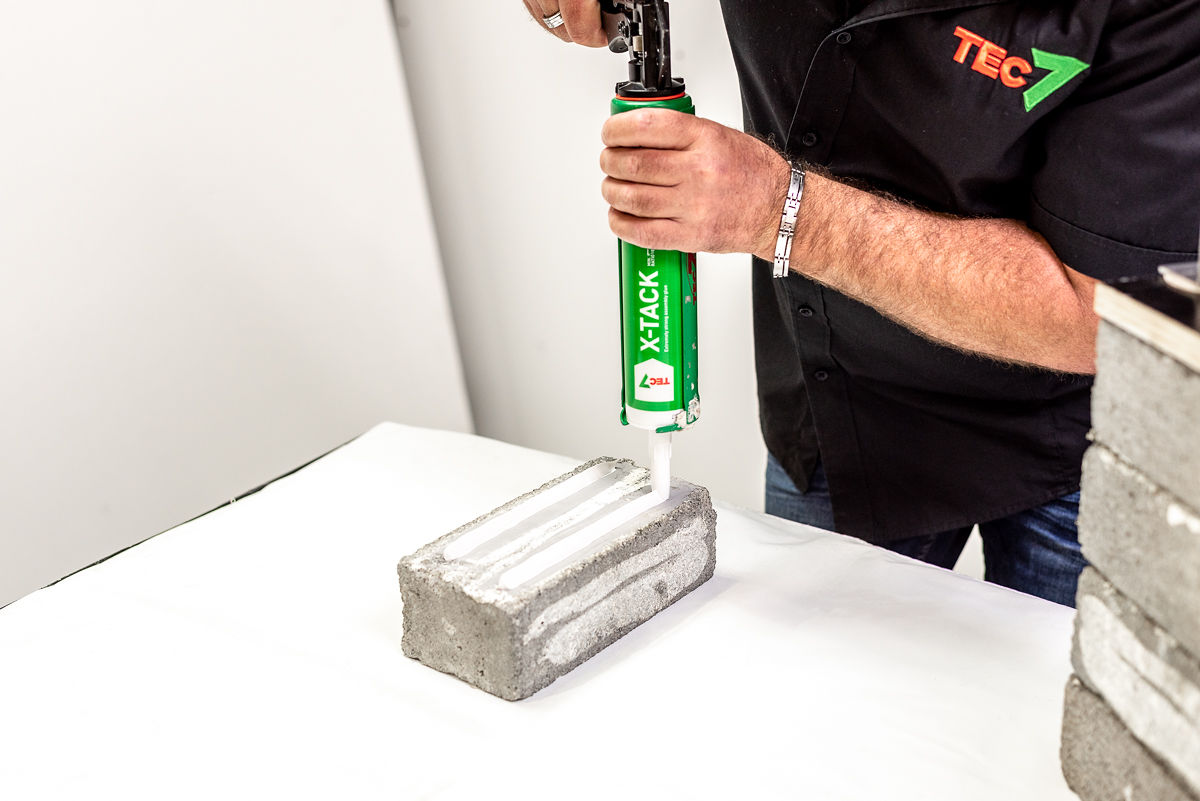
Apply X-Tack in continuous vertical beads to achieve maximum bond strength and optimal curing performance. Do not apply X-Tack in dots.
Pro Tip – For smaller applications: Tec7 Professional cartridge guns are recommended due to their 1:18 compression ratio.
For larger applications: A cordless caulking gun is recommended.
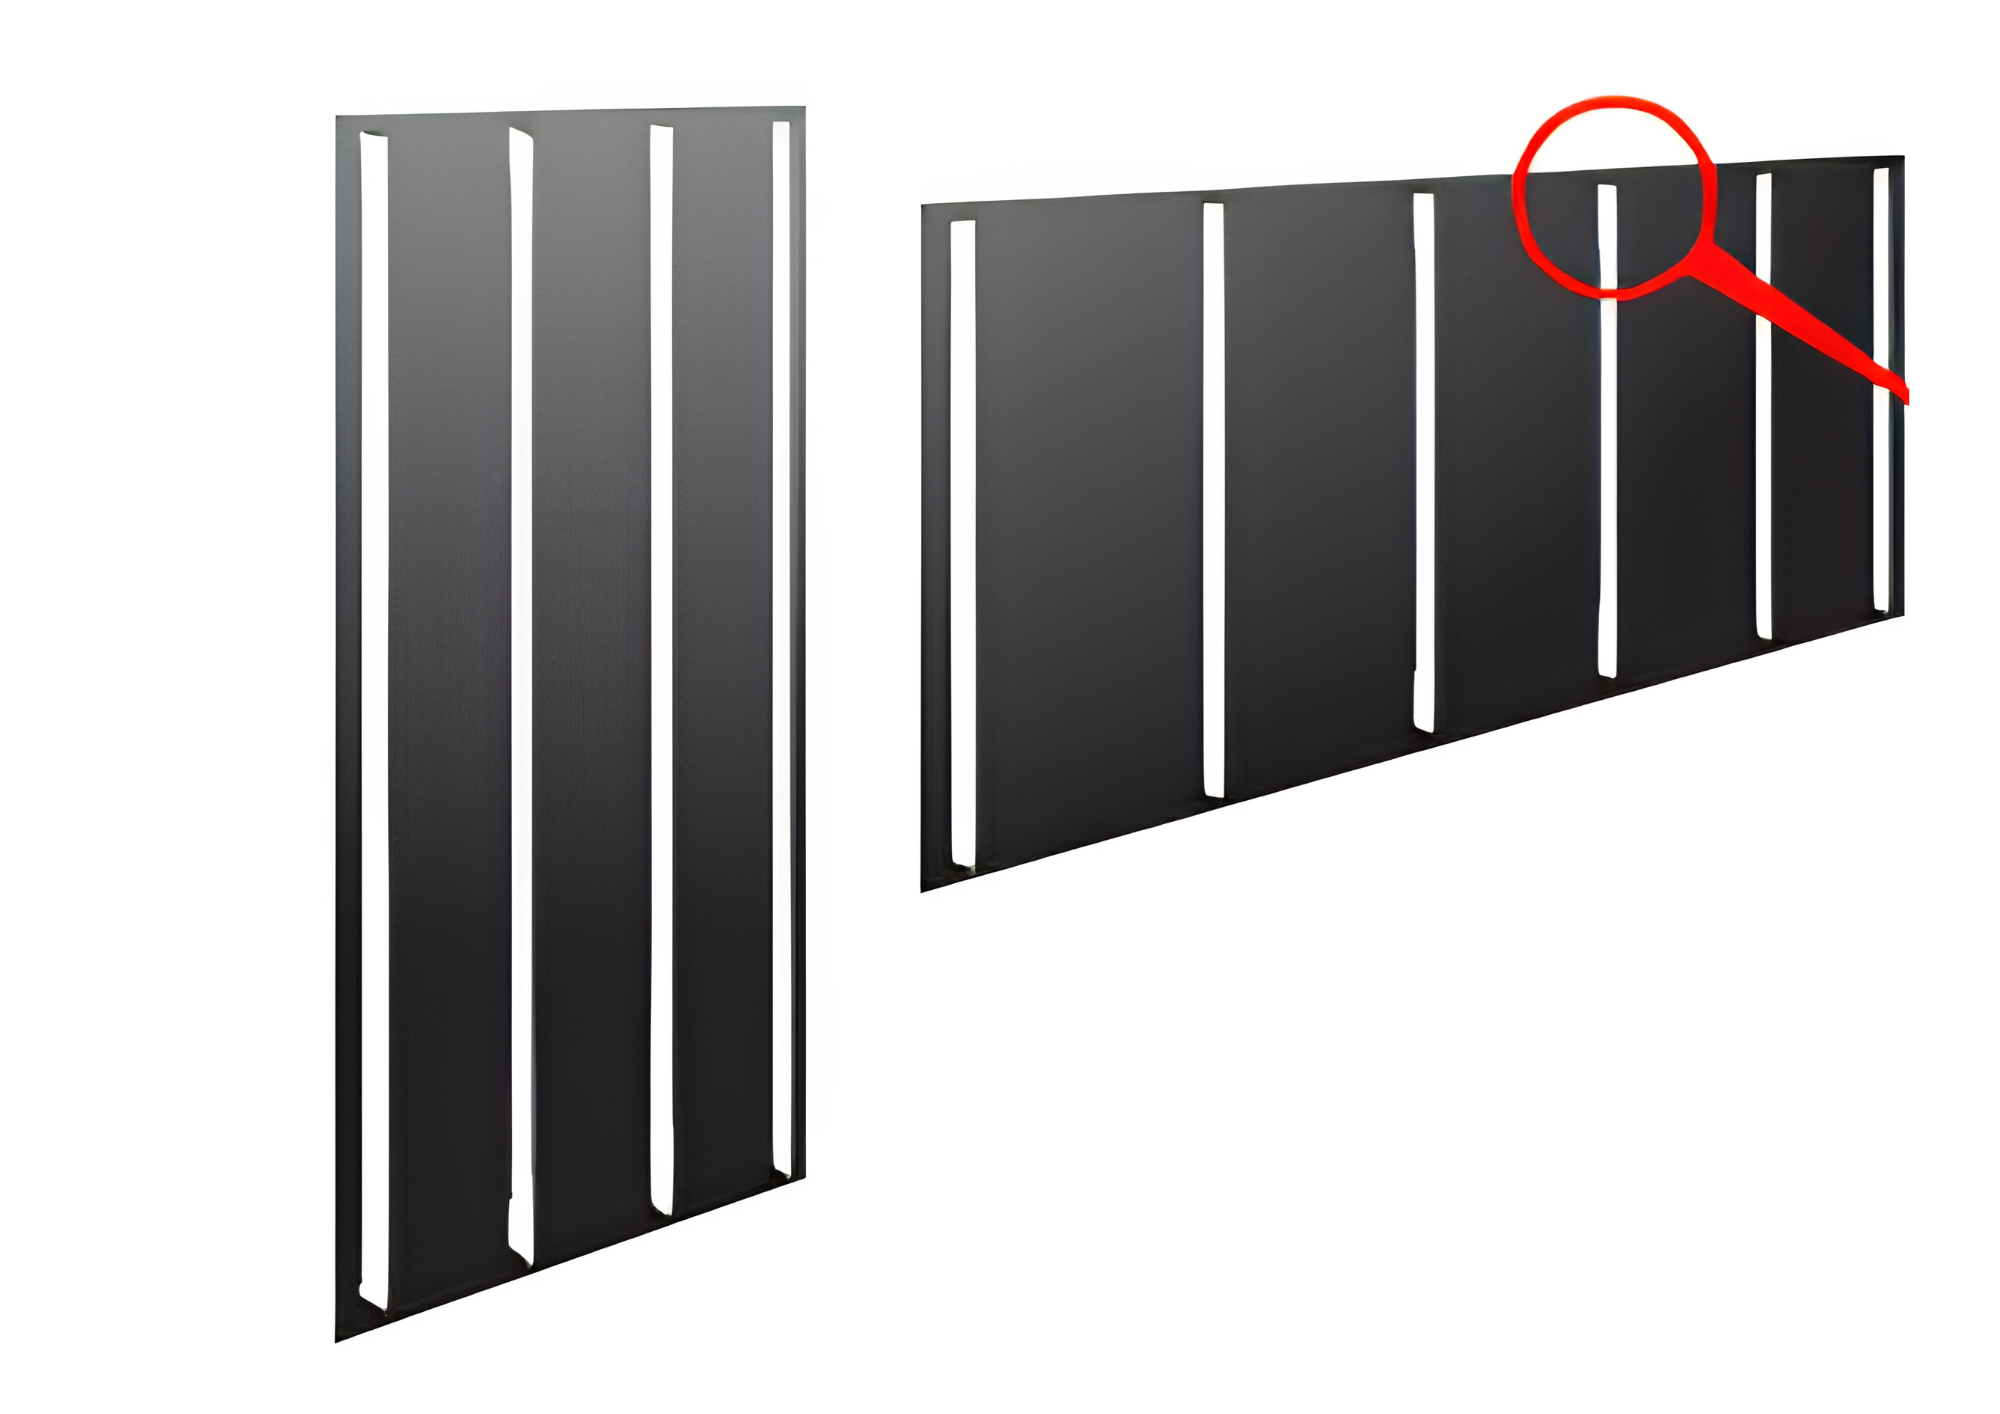
The number of beads required will vary according to the substrate and the size of the bonding surface. In general, Olmurtech recommends spacing adhesive beads approximately 10–20 cm apart, depending on the weight of the material and the substrate type.
Adjust bead quantity accordingly to ensure sufficient support and adhesion. For larger, heavier, or more complex applications, professional advice may be required to determine correct quantities and application techniques.
Many Olmurtech Tec7 resellers provide installation guides with specific instructions for common applications. Refer to these guides where available.
If necessary, remove any excess uncured X-Tack adhesive using Tec7 Cleaner.
Due to the wide variety of plastic materials and formulations available — and the potential for stress cracking — preliminary testing is recommended. Always test adhesion on plastics, powder-coated surfaces, exotic timbers, and bituminous materials as bonding performance may vary.
Please note that alkyd-based products may delay curing or drying times. Preliminary testing is advised due to the wide range of paints and varnishes on the market which can influence adhesion and curing performance.
X-Tack can be applied to wet surfaces. However, adhesion should always be tested in a small, inconspicuous area on both bonding surfaces prior to full application.
Refer to the TDS and SDS for further product information.
Still unsure which application method is right for your project? Different applications may require different preparation and application techniques to achieve the best results. If you have any questions or are unsure which method to use, please contact our team — we’re here to help you choose the best solution for your specific application.

Phone: 07 3419 8478
Email: sales@olmurtech.com.au
76/193-203 South Pine Road
Brendale QLD 4500
Copyright © 2026 Olmurtech | Privacy Policy | Tec7 and Novatio are registered trademarks of Novatech International N.V in Belgium