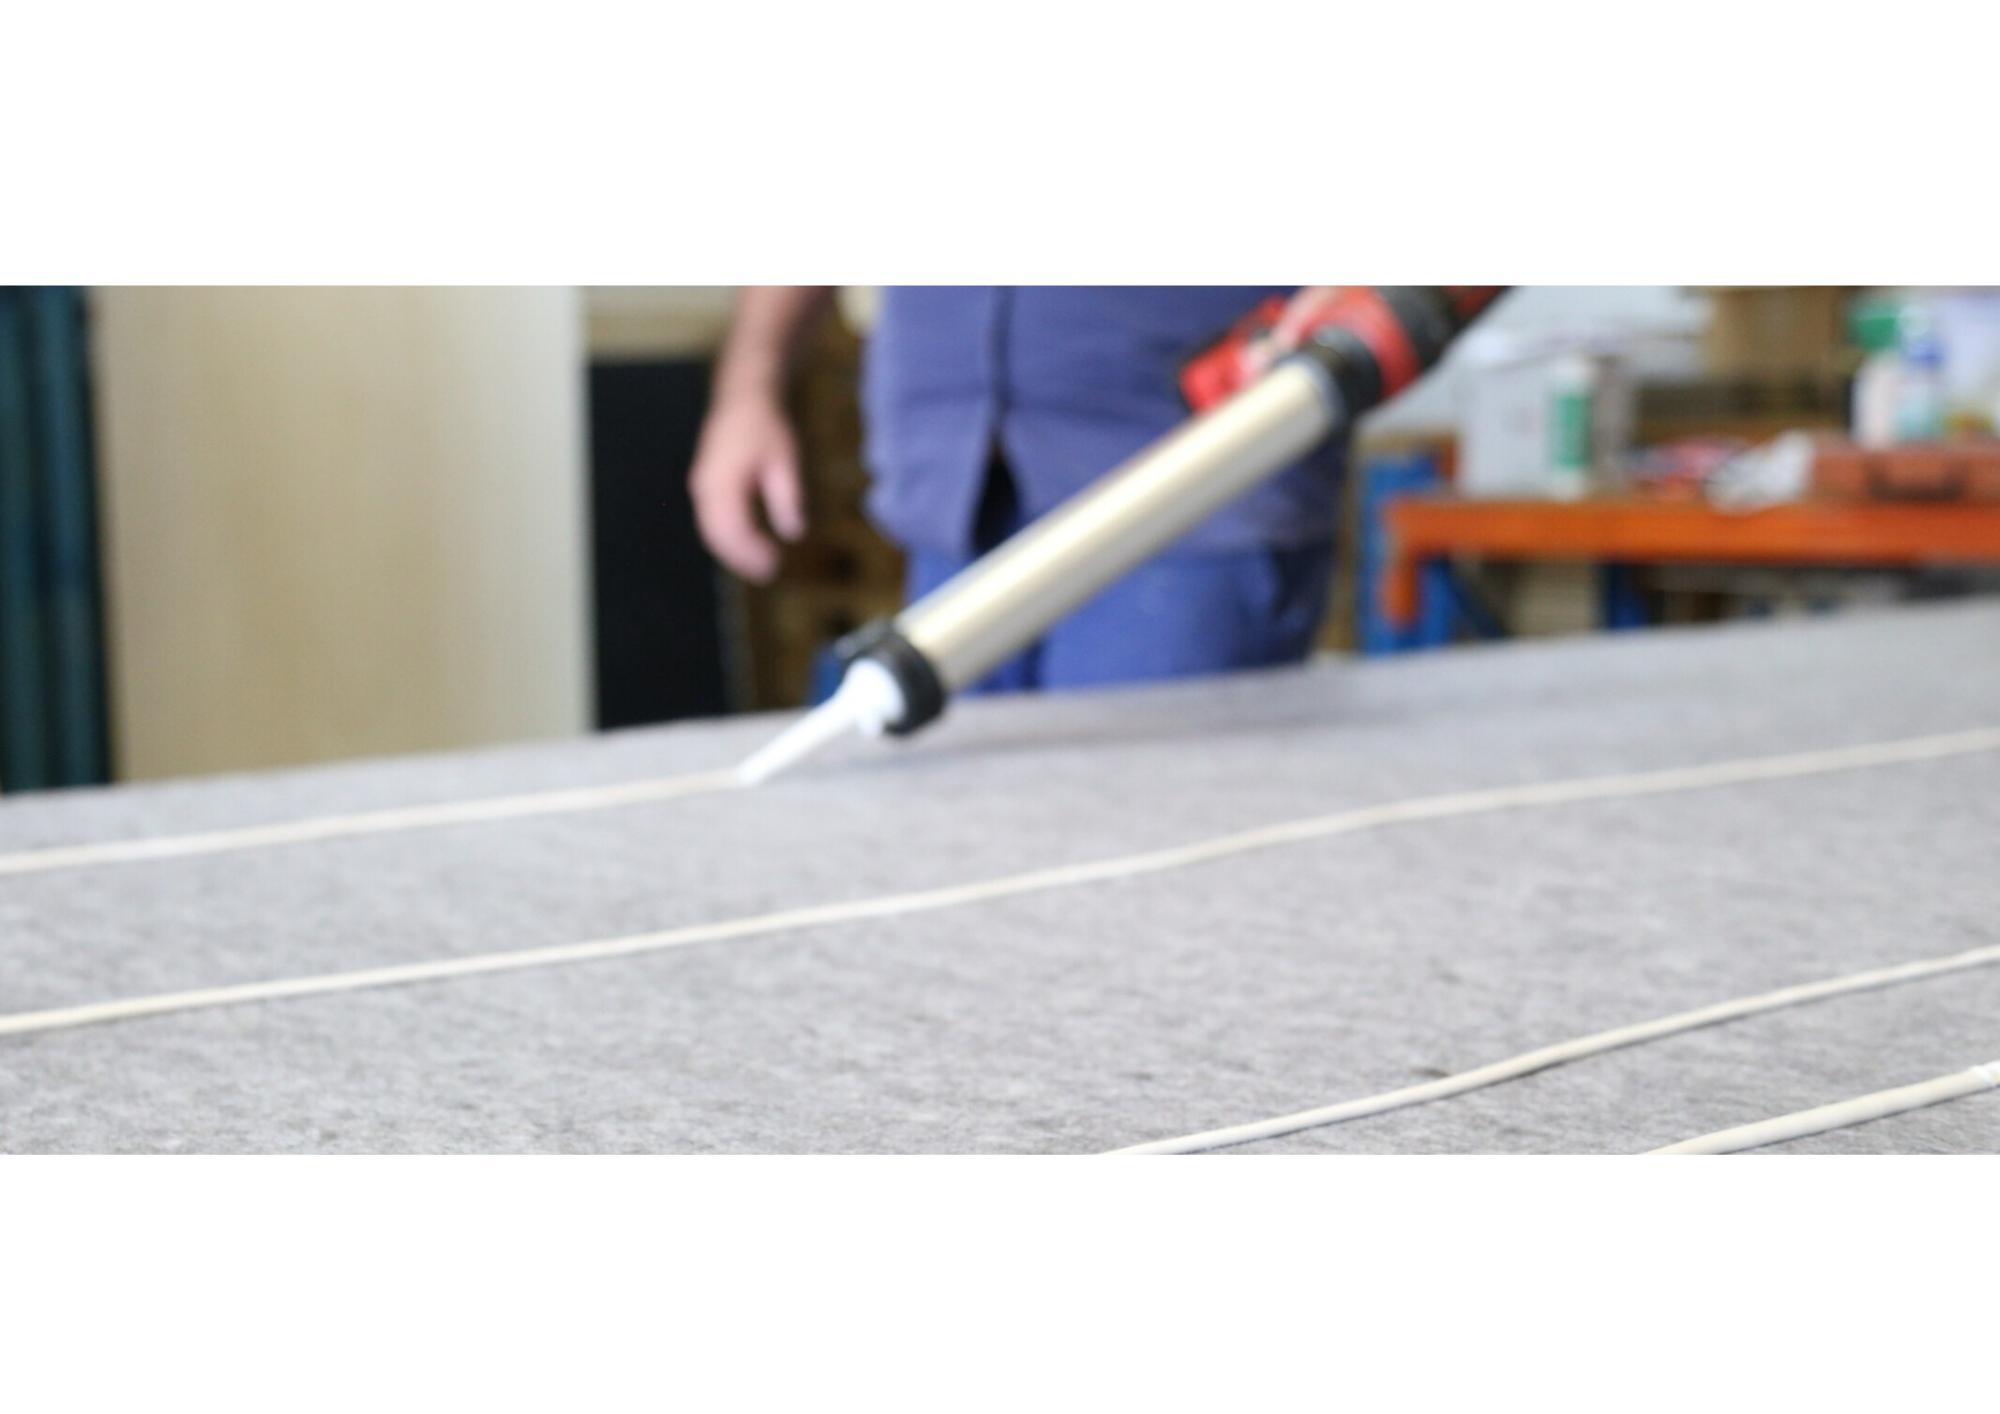
A true 6mm round bead ensures the adhesive spreads correctly when compressed, delivering:
Insufficient bead size may reduce spread and adhesion performance, while over-application can affect cure time and material alignment.
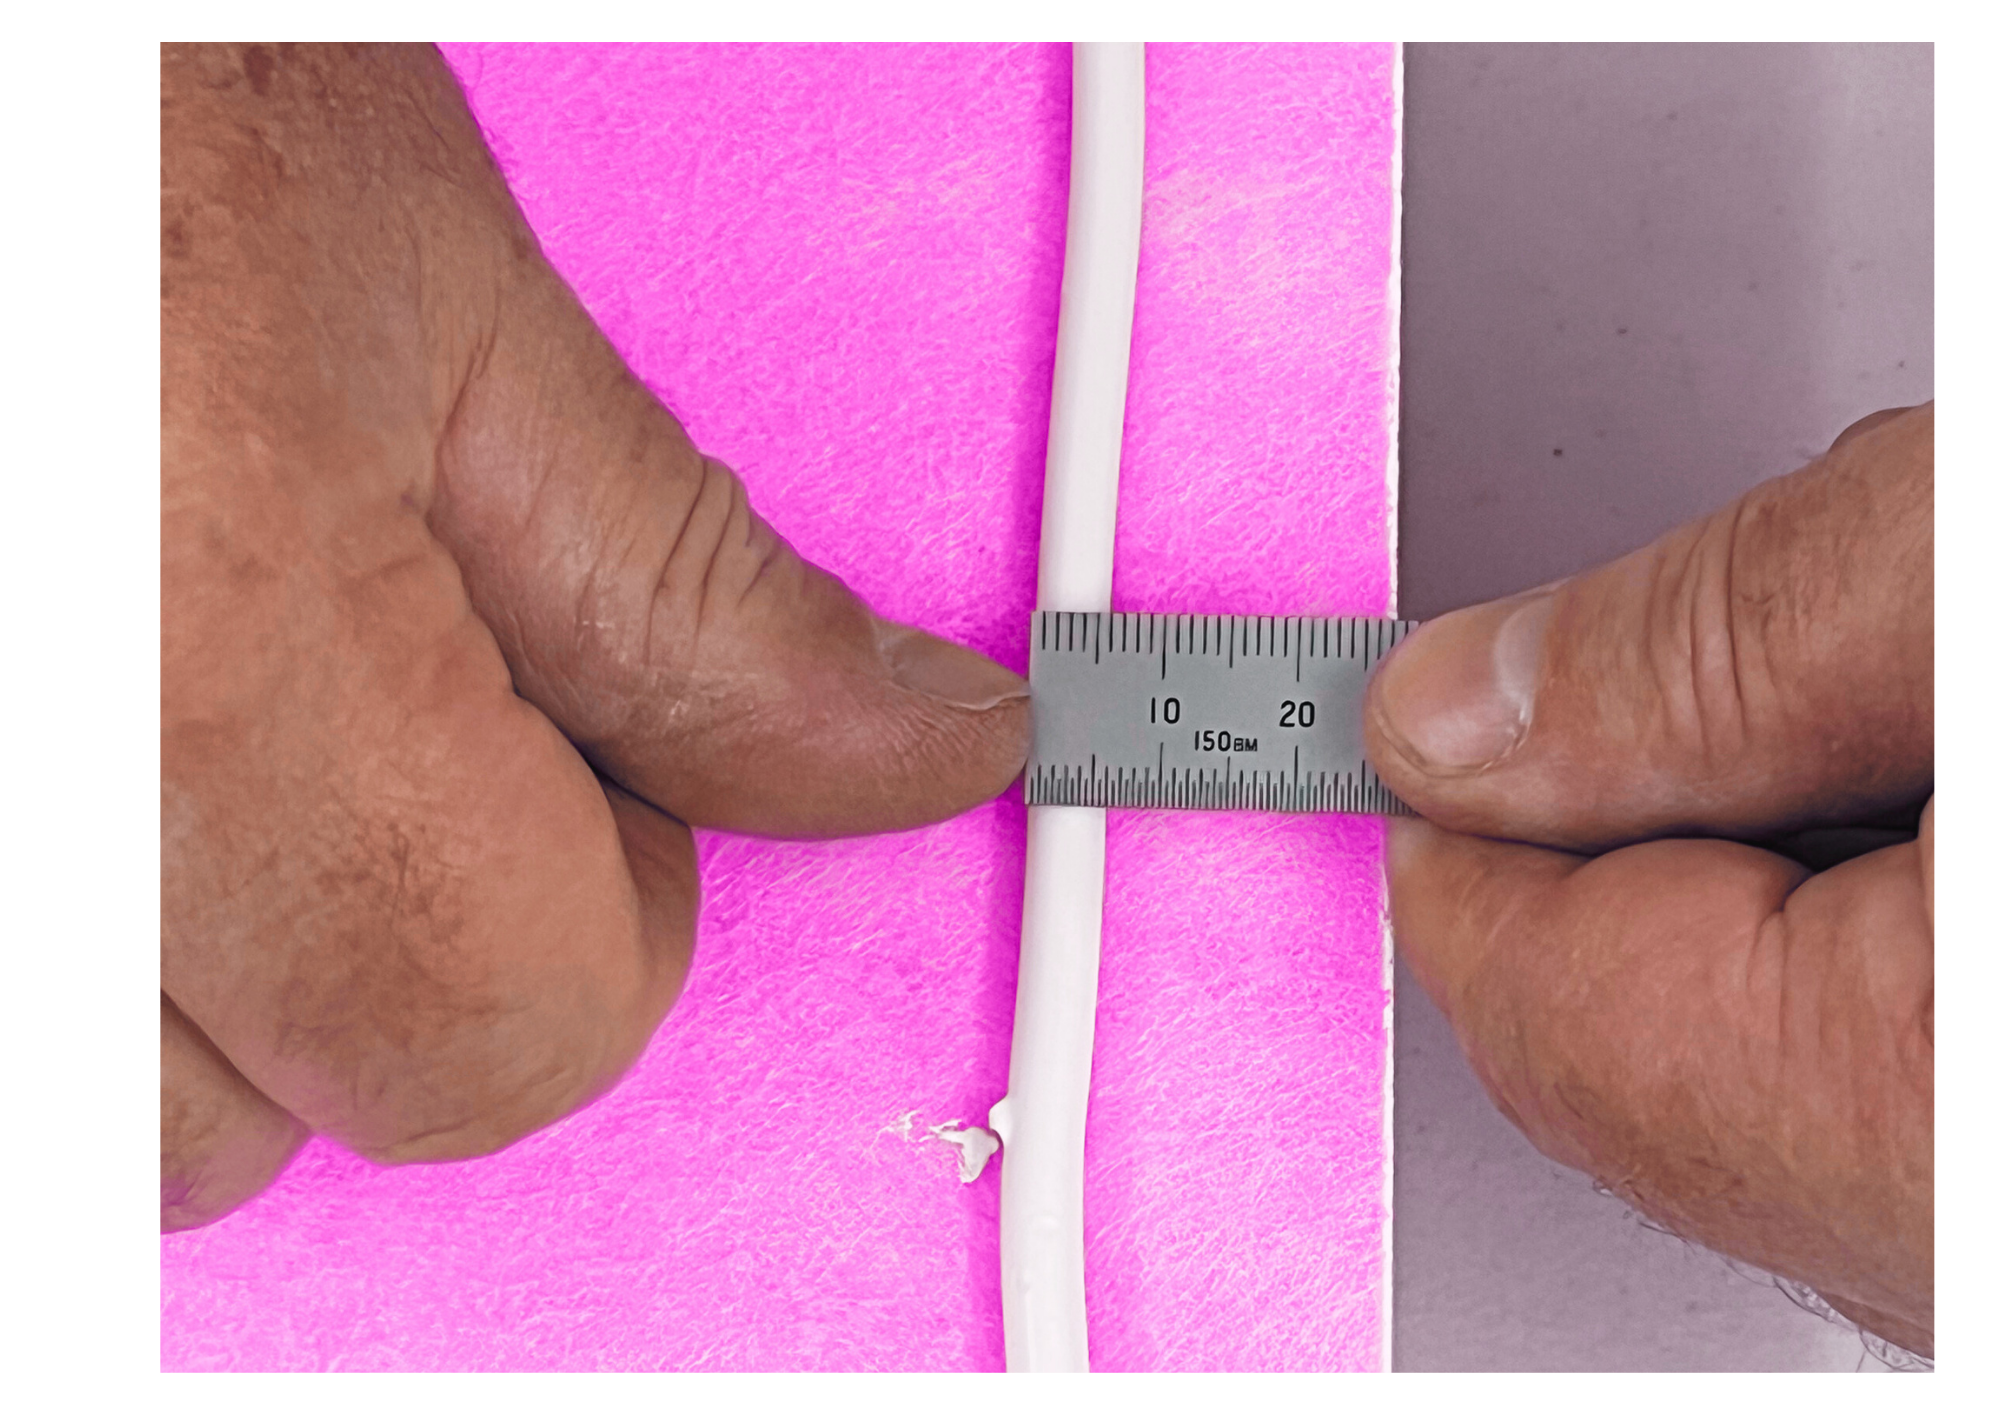
Quick Installer Reference: 6MM IN → 20–25MM OUT
A controlled spread of Tec7 ensures sufficient adhesive coverage, maximises bond strength, and allows for correct curing performance without over-application.
Refer to the 6mm Bead Application Method below for correct installation technique.
Achieving a true 6mm round bead is essential to ensure correct adhesive spread and optimal installation performance. When properly applied and compressed, a 6mm bead of Tec7 will spread to approximately 20–25mm wide, creating the ideal contact area between substrates.
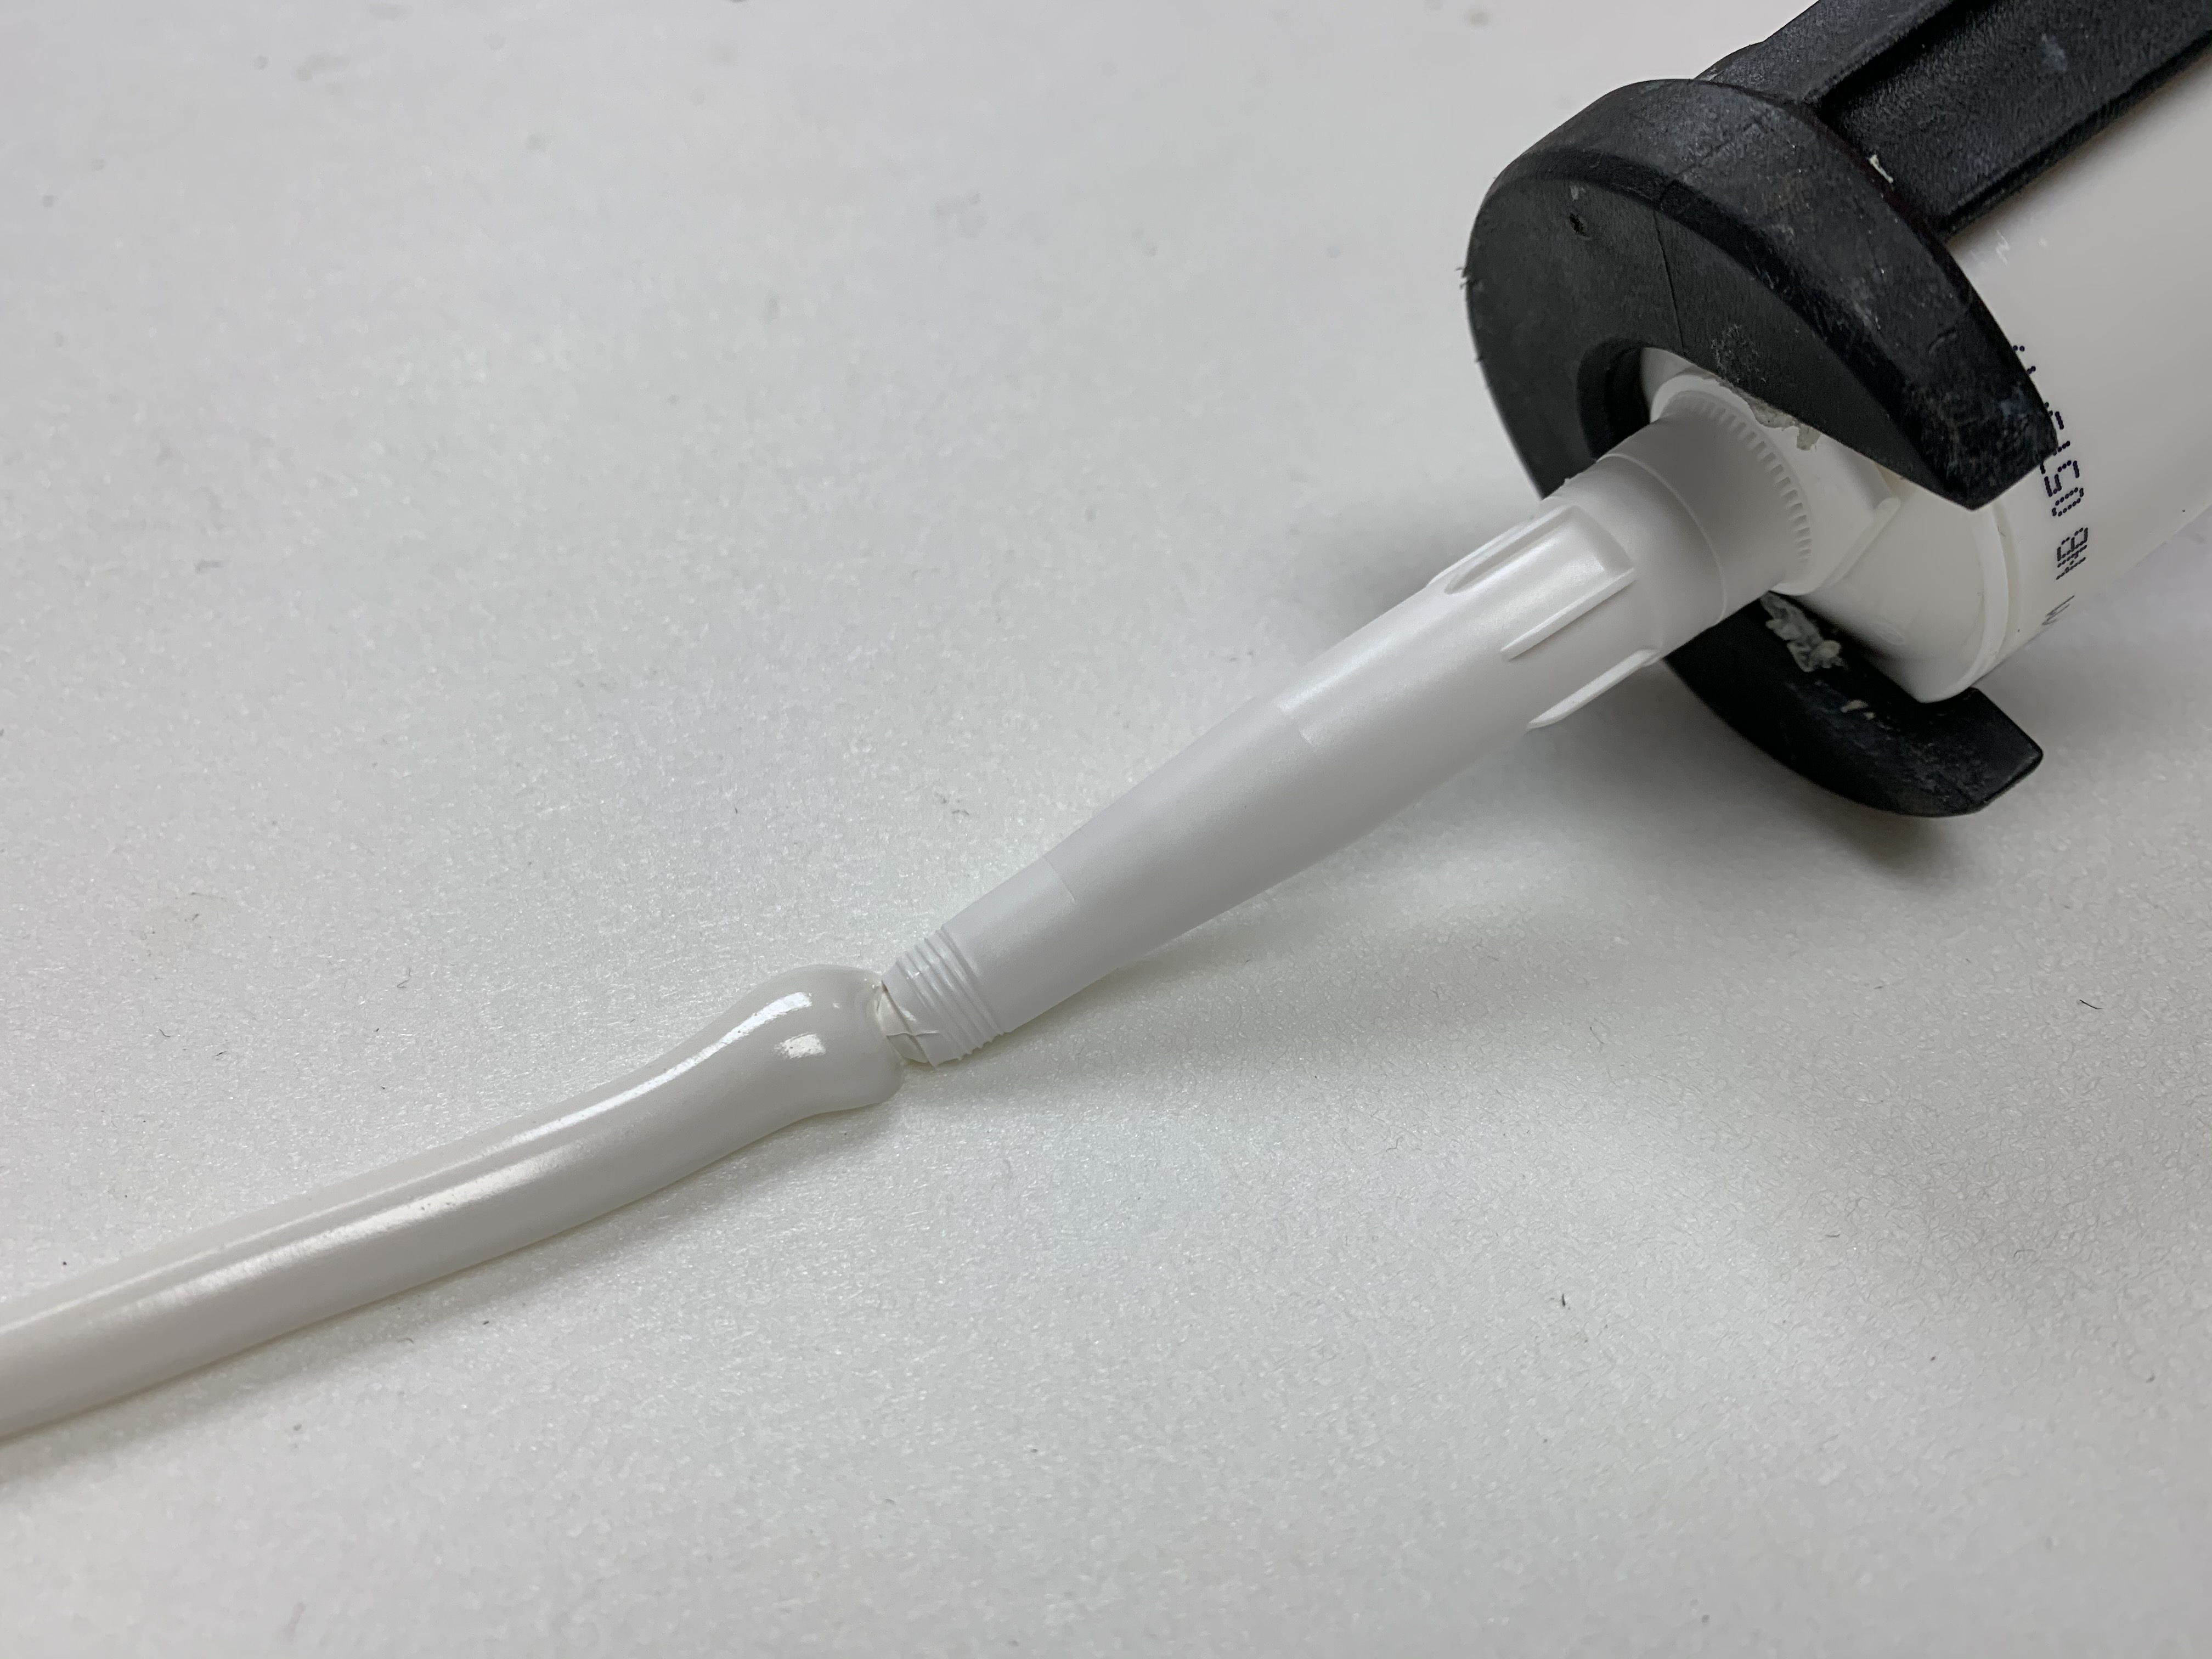
Cut the Tec7 nozzle square just below the thread line for the cap.
DO NOT ANGLE-CUT THE NOZZLE — A straight cut is required to achieve the correct bead size.
When extruding from a 310ml cartridge or 600ml sausage, position the application gun low and lay it down as shown in the reference images.
Apply the adhesive steadily, allowing a 6mm diameter bulbous, round bead to form.
Maintain consistent pressure and speed to ensure uniform bead size.
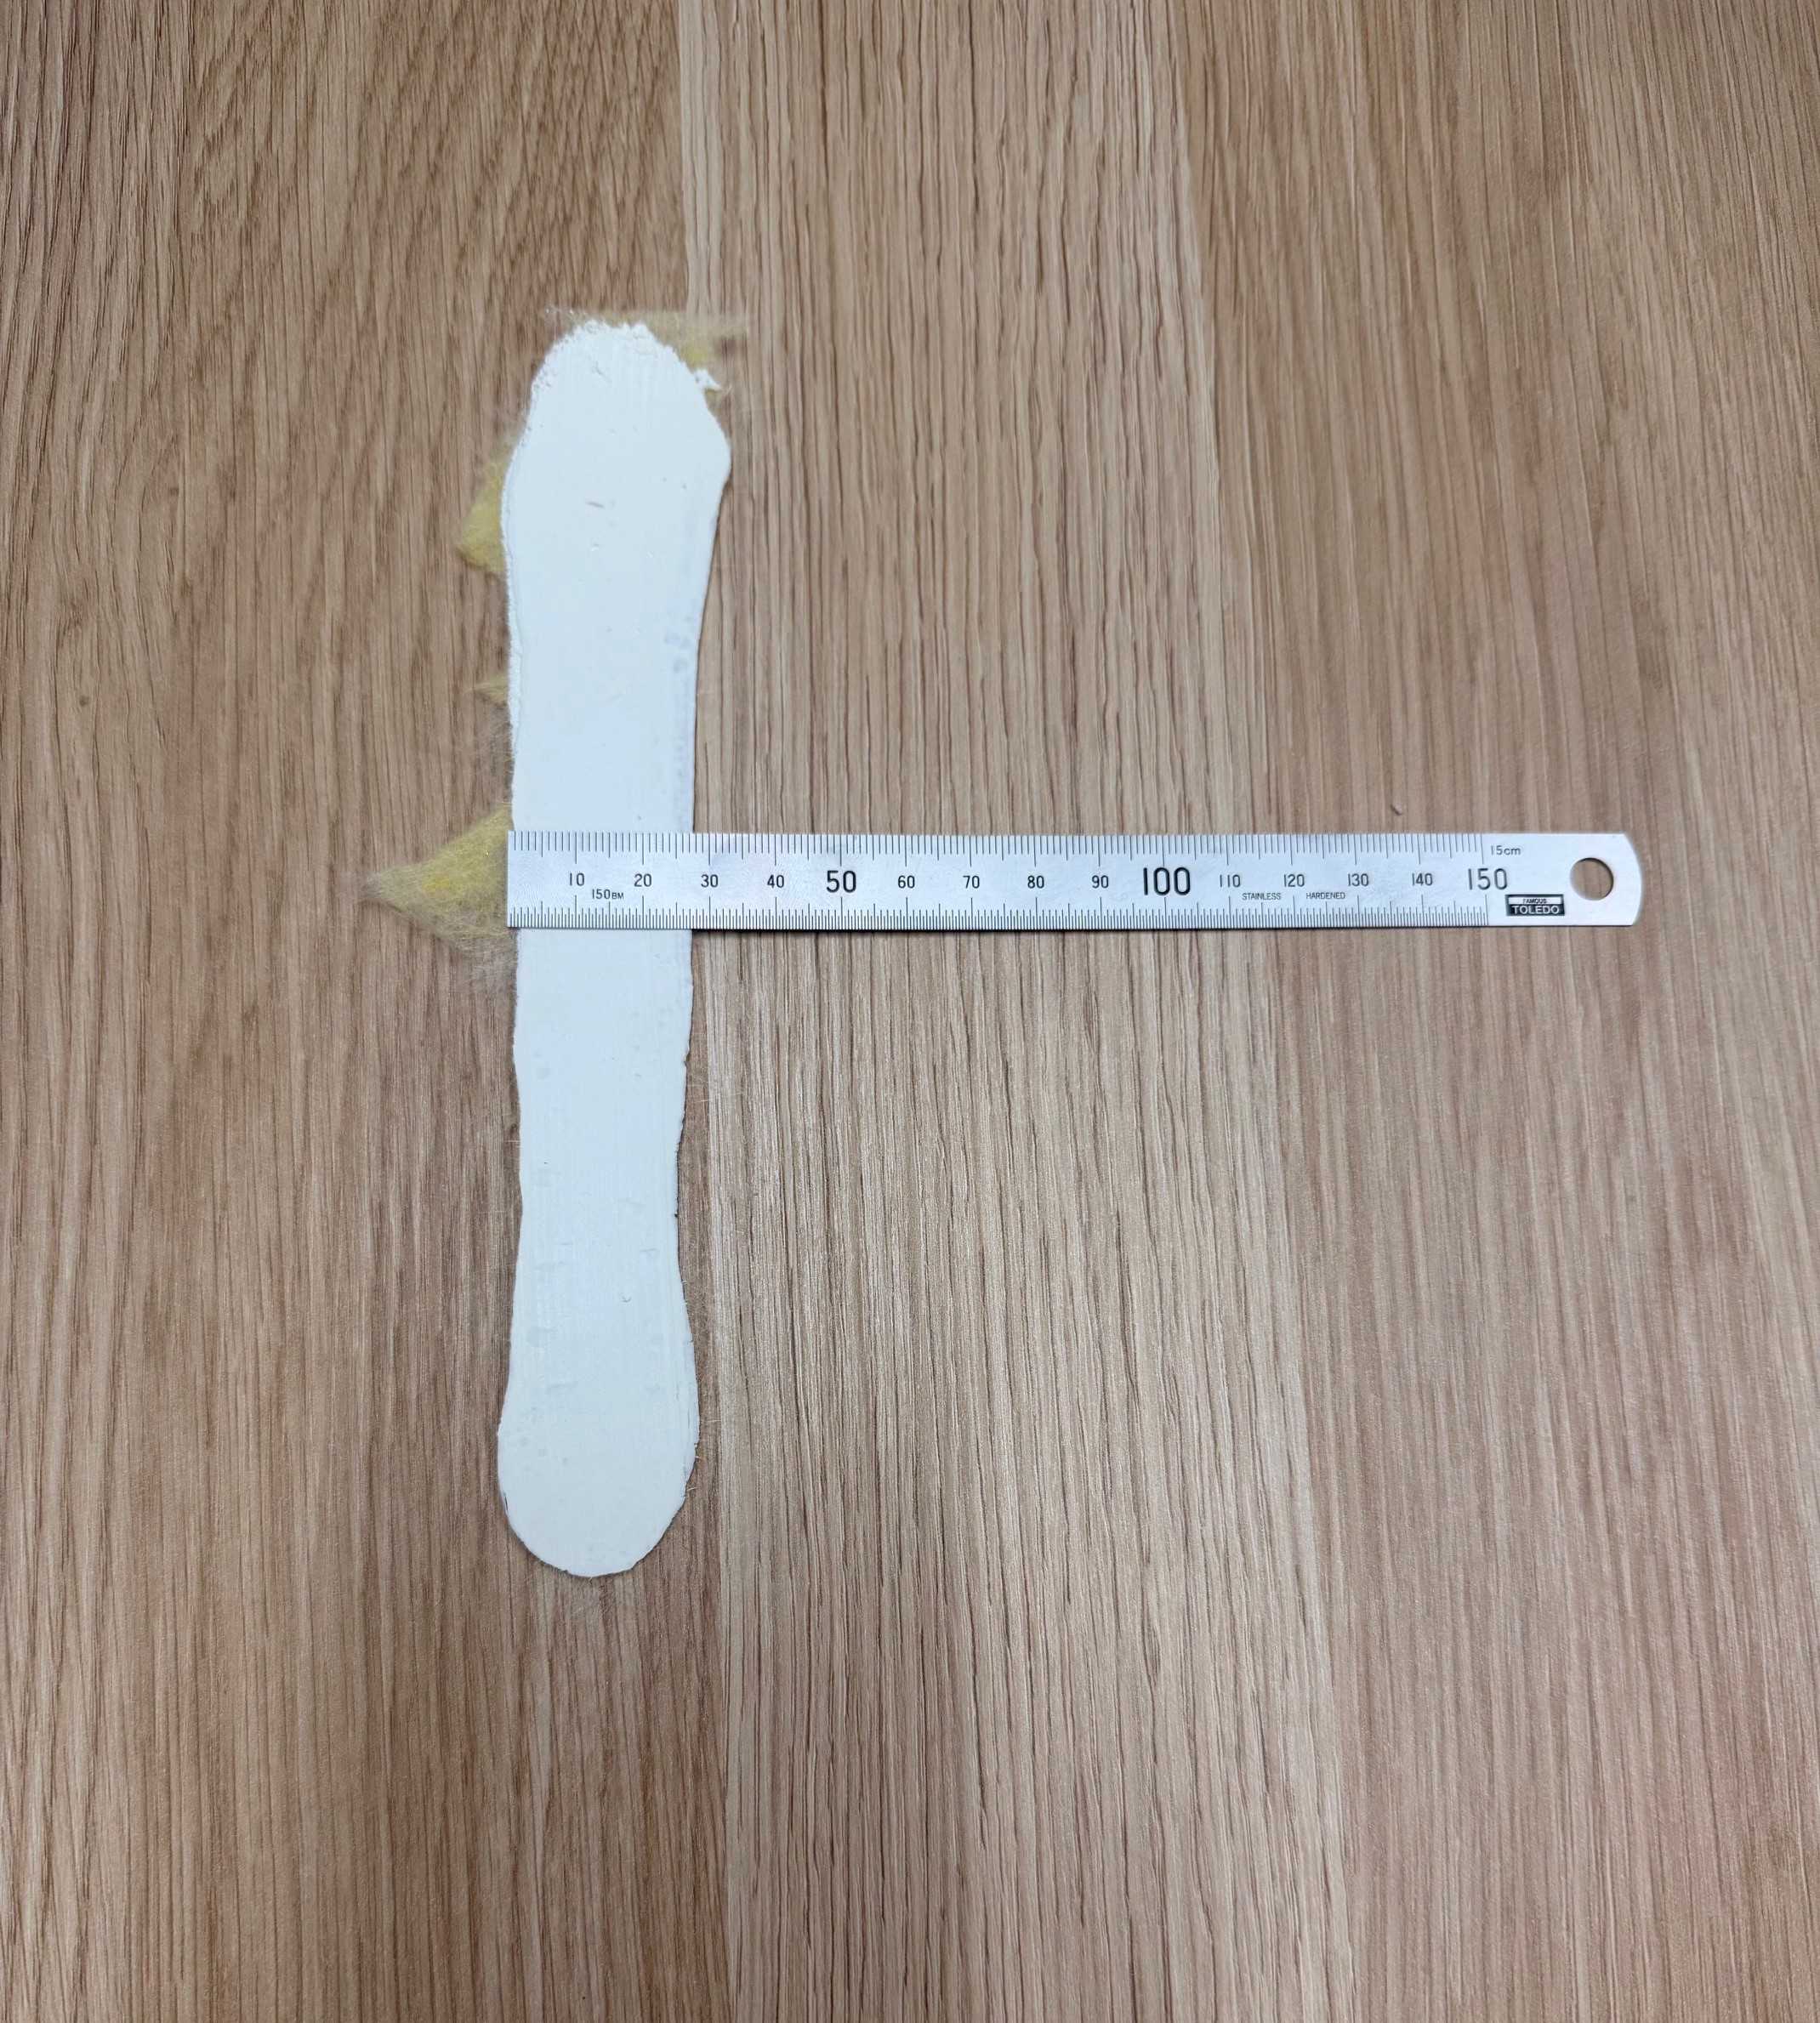
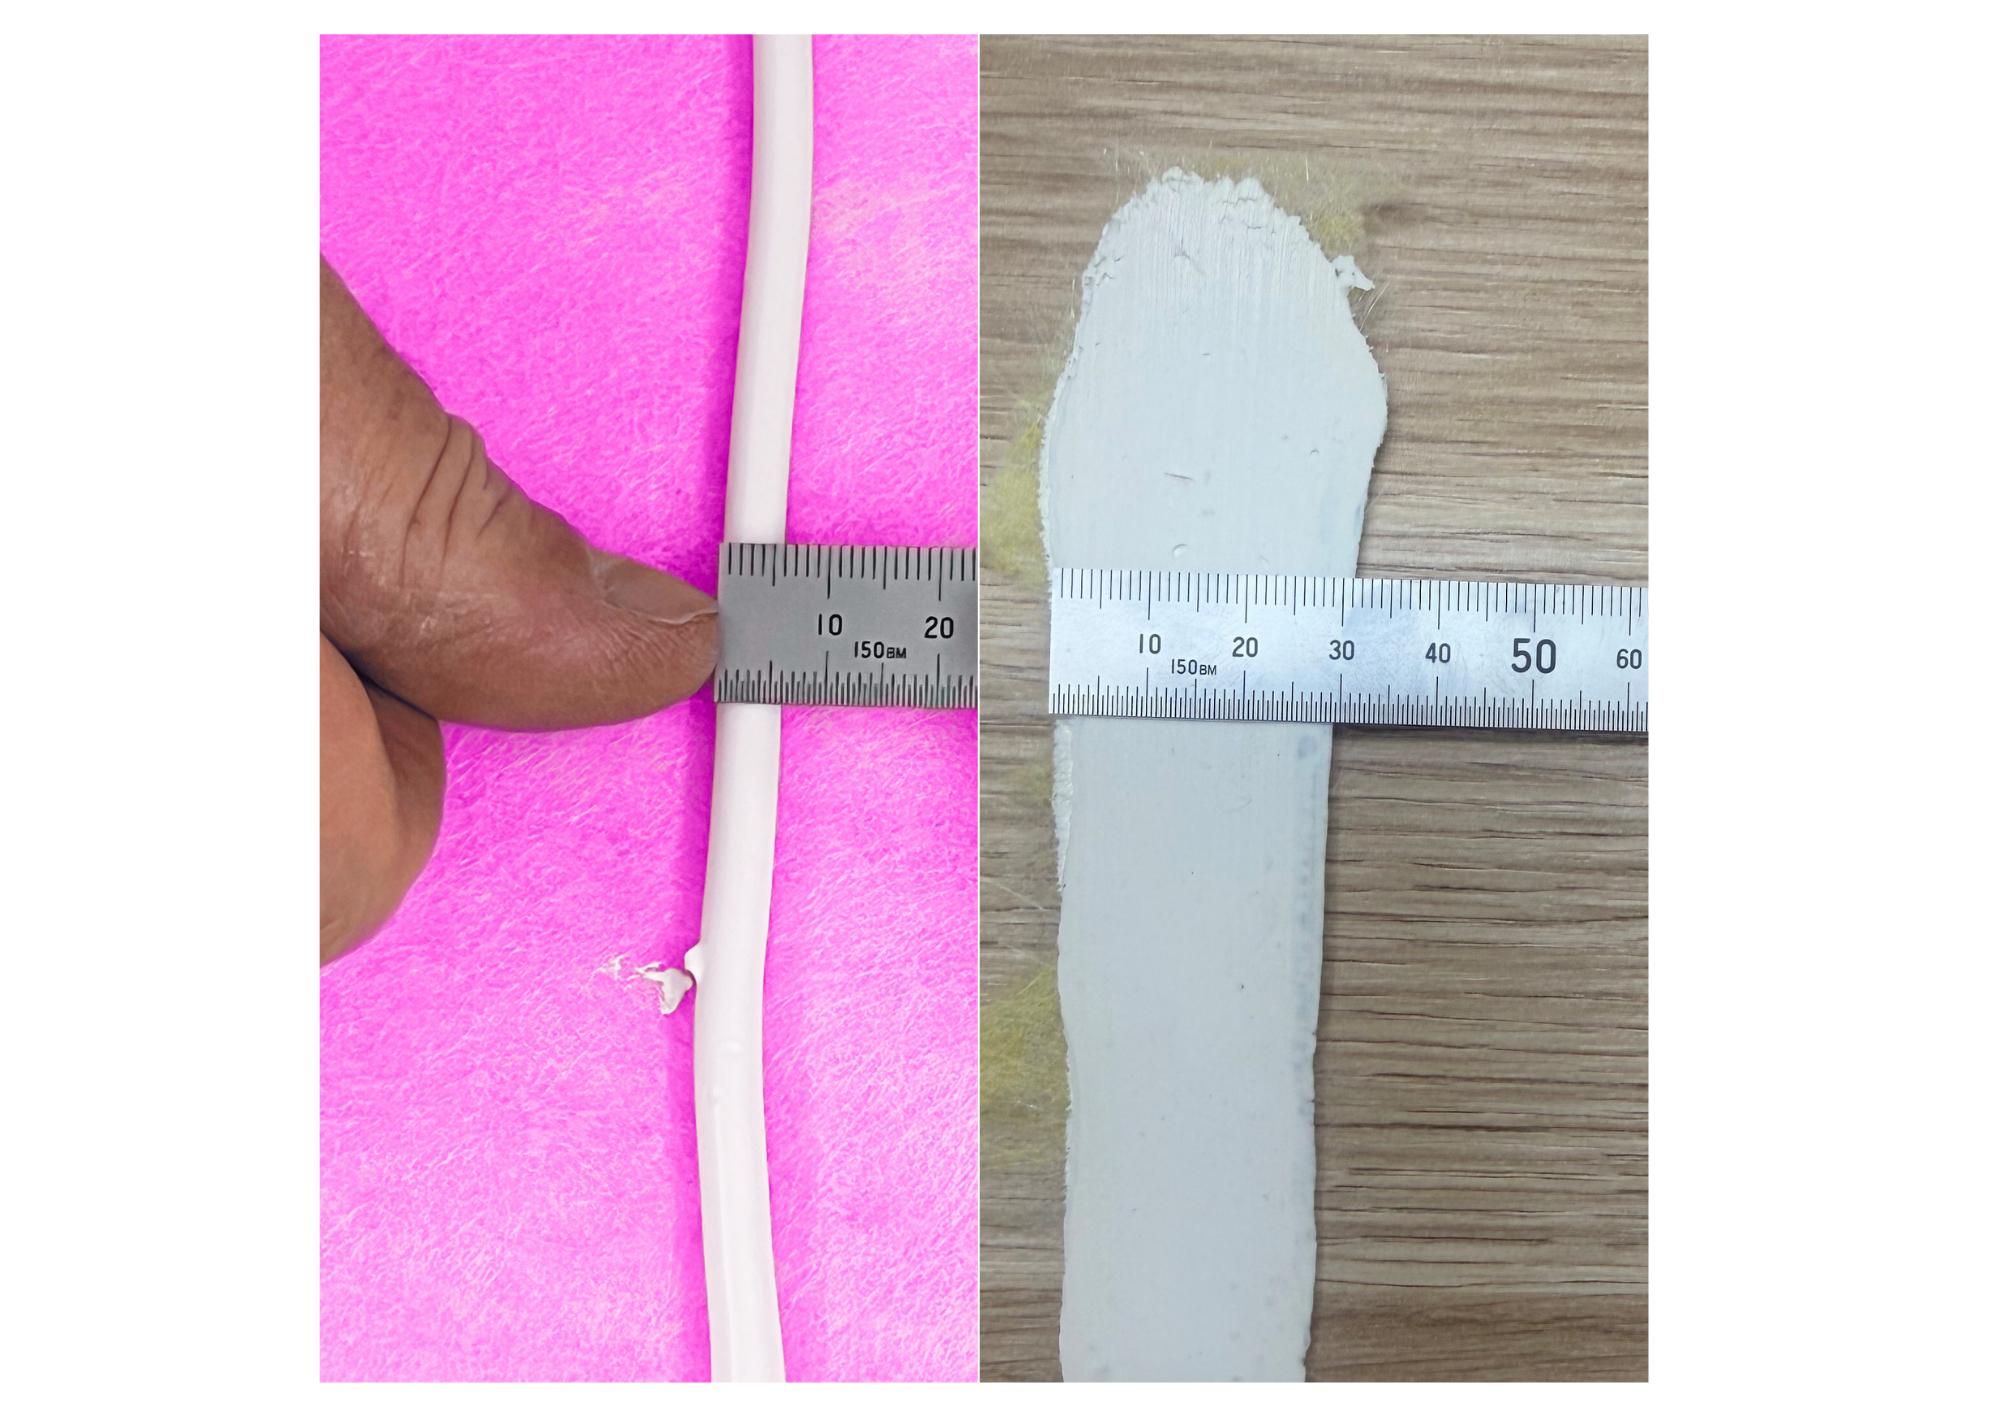
When properly applied and compressed, a 6mm bead of Tec7 will spread to approximately 20–25mm wide, creating the ideal contact area between substrates.
Proper surface preparation is essential to ensure optimal performance of TEC7 adhesive products and to guarantee a strong, durable bond.
Step 1: Remove as much loose dirt and dust as possible with a brush or cloth.
Step 2: Begin by thoroughly cleaning and degreasing the surface. Select the appropriate cleaner based on your application requirements.
Step 3: Ensure that the cleaner has fully evaporated before bonding.
See test advice prior to application.

Phone: 07 3419 8478
Email: sales@olmurtech.com.au
76/193-203 South Pine Road
Brendale QLD 4500
Copyright © 2026 Olmurtech | Privacy Policy | Tec7 and Novatio are registered trademarks of Novatech International N.V in Belgium